In jewelry manufacturing, the method used to produce wax patterns affects both the speed of delivery and the cost structure of every piece that leaves the workshop. Two dominant approaches exist today: 3D printed wax models created on additive manufacturing systems, and injected wax patterns produced from rubber or metal molds. Each method has distinct workflow requirements, cost profiles, and production timelines that determine which is more suitable for a given order. This article examines the production speed and cost differences between the two approaches, providing jewelry workshop owners and production managers with the technical information needed to make informed decisions.
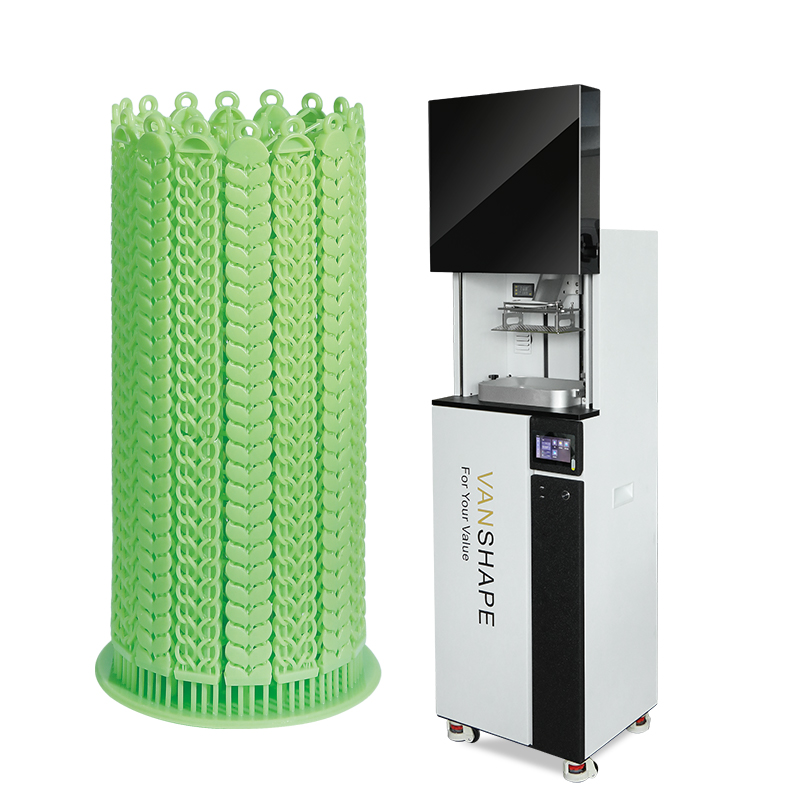
The 3D printed wax model workflow begins with a digital CAD file. A 3d jewelry printer builds the pattern layer by layer using a wax-based photopolymer or castable resin. Once printing is complete, the pattern is removed from the build platform, washed in a solvent to remove uncured resin, and post-cured under UV light. Support material is removed manually, and the pattern is ready for investing.
The critical speed advantage of 3D printing is the elimination of mold-making from the production cycle. A CAD model can be finalized in the morning and printed by the afternoon, with patterns ready for tree assembly the same day or the following morning depending on print resolution and batch size. For a single ring design at 25 micron layer height, print times typically range from 2 to 6 hours depending on machine technology and build orientation. Multiple patterns can be printed simultaneously on a single build platform, which means that batch printing of 10 to 20 patterns may take only marginally longer than printing a single piece.
However, this speed advantage applies primarily to the first article and small batch production. The per-pattern print time does not decrease significantly with volume because each pattern must be built layer by layer regardless of how many are on the platform. For large production runs of identical patterns, 3D printing becomes progressively less efficient compared to injection.
Wax injection requires a physical mold, typically made from silicone rubber or metal. The mold is created from a master pattern, which itself must be produced by hand carving, CNC machining, or 3D printing. Once the mold exists, molten wax is injected under pressure and vacuum using a vacuum wax injector. The wax cools for 30 to 90 seconds, the mold is opened, and the finished pattern is removed. The cycle repeats for each additional pattern.
The production speed of wax injection is characterized by a high upfront time investment followed by rapid per-piece cycle times. Mold creation requires producing a master pattern, preparing the rubber mold (vulcanizing or metal machining), cutting parting lines, and testing injection parameters. This process can take anywhere from one to five days depending on complexity and whether the mold is rubber or metal. Metal molds for high-volume production require CNC machining, which adds significant lead time.
Once the mold is ready, however, injection cycle times are consistently short. A skilled operator can produce 40 to 80 patterns per hour from a single cavity rubber mold, and multi-cavity metal molds can yield several hundred patterns per hour. This makes injection substantially faster than 3D printing for production runs above approximately 20 to 30 identical pieces.
The cost structure of 3D printed wax models is dominated by variable costs. The primary cost components are:
Resin or wax material: Castable resins cost between $150 and $400 per liter depending on formulation and brand. A typical ring pattern consumes 5 to 15 milliliters of material including supports, translating to $1 to $6 per pattern in material cost.
Machine depreciation: Professional-grade jewelry 3D printers range from $3,000 to $25,000. Spread over a typical 3-year service life with moderate usage, machine cost per pattern ranges from $0.50 to $3.
Post-processing labor: Removing supports, washing, and curing requires 5 to 15 minutes of labor per build batch, not per pattern. At typical labor rates, this adds $0.50 to $2 per pattern.
Solvent and consumables: Isopropyl alcohol for washing and other consumables add approximately $0.20 to $0.50 per pattern.
The total per-pattern cost for 3D printing typically falls between $2 and $12, depending on machine cost, material selection, and production volume. There is no significant upfront mold cost, which means the cost per pattern remains relatively flat regardless of quantity.
Wax injection has a fundamentally different cost structure with high fixed costs and low variable costs:
Mold creation: A rubber mold costs $50 to $200 in materials and labor. A CNC-machined metal mold costs $300 to $1,500 or more depending on complexity. This is a one-time fixed cost per design.
Wax material: Injection wax costs $5 to $15 per kilogram. A typical ring pattern weighs 1 to 3 grams, translating to less than $0.05 per pattern in material.
Machine depreciation: A vacuum wax injector costs $1,500 to $8,000. At high production volumes, per-pattern machine cost becomes negligible, often below $0.10.
Labor: Injection cycle time of 30 to 90 seconds means labor cost of $0.25 to $1 per pattern at typical wage rates.
The total per-pattern variable cost for injection is typically $0.30 to $1.50, substantially lower than 3D printing. However, the mold cost must be amortized across the production run. At 50 pieces, a $150 rubber mold adds $3 per pattern. At 500 pieces, the same mold adds only $0.30 per pattern. This creates a clear crossover point where injection becomes more economical than printing.
The crossover point—the production quantity at which wax injection becomes more cost-effective than 3D printing—depends on the specific cost parameters of each workshop. A simplified analysis illustrates the principle:
For a typical ring design where 3D printing costs $5 per pattern with no upfront cost, and injection costs $0.75 per pattern with a $150 mold, the total costs are:
10 pieces: 3D printing = $50; Injection = $157.50
30 pieces: 3D printing = $150; Injection = $172.50
50 pieces: 3D printing = $250; Injection = $187.50
100 pieces: 3D printing = $500; Injection = $225
In this scenario, the crossover occurs at approximately 35 pieces. Below this quantity, 3D printing is more economical because the mold cost dominates. Above this quantity, injection becomes progressively cheaper per piece. Workshops should calculate this crossover for their own cost structures, as material prices, labor rates, and machine costs vary significantly by region and supplier.
Cost is not the only factor in choosing between methods. Production speed and lead time are equally important, particularly for custom work and time-sensitive orders.
For a one-off custom piece, 3D printing delivers a pattern in hours. The CAD file is sent directly to the printer, and the pattern can be on the investment tree the same day. The equivalent injection workflow requires creating a master pattern, vulcanizing a rubber mold (4 to 8 hours of curing time), cutting the mold, and test injections before the first production pattern is ready. This adds 1 to 3 days to the timeline, which is often unacceptable for custom orders with short deadlines.
For repeat orders of existing designs, the calculation reverses. Once a mold exists, injection produces patterns in minutes per piece. A reorder of 100 wedding bands from an existing mold can be completed in a single morning, while 3D printing the same quantity would require multiple build cycles spanning 24 to 48 hours of machine time.
Design changes also affect the speed comparison. Modifying a CAD model and reprinting takes hours, while modifying an existing mold requires producing a new master and creating a new mold from scratch. For designs still under revision or awaiting client approval, 3D printing is invariably faster.
Most production jewelry workshops benefit from maintaining both capabilities. A Yihui Casting equipment lineup that includes both a 3D printer and a wax injector allows workshops to route each job to the most efficient process:
Use 3D printing for: Custom one-off pieces, prototype development, design iterations, small batches under the crossover point, and designs with complex internal geometries that cannot be molded.
Use wax injection for: Production runs of approved designs, standard catalog items, reorder batches, and any quantity above approximately 30 to 50 identical pieces.
Hybrid approach: Use 3D printing to produce the master pattern, then create a rubber mold from that pattern for injection production. This combines the speed of digital design with the efficiency of injection for subsequent copies.
Workshops should also consider the skill sets of their staff. 3D printing requires CAD proficiency and familiarity with slicing software, while injection requires mold-cutting skills and experience with wax temperature and pressure parameters. Training costs and available expertise should factor into the decision of which equipment to acquire first.
The choice between 3D printed wax models and injected wax patterns is not a question of which technology is superior, but which is more appropriate for a given production scenario. 3D printing offers faster turnaround for custom and small-batch work with no upfront mold costs, while wax injection delivers lower per-piece costs and faster cycle times for production runs above the crossover quantity. Understanding the cost structure and production speed characteristics of each method allows workshop managers to make informed routing decisions that optimize both delivery time and profitability.
For workshops looking to upgrade their wax pattern production capabilities, 3d jewelry printer systems and vacuum wax injector equipment from Yihui Casting provide the tools needed to handle both custom and production work efficiently. Contact Yihui Casting to discuss equipment options that match your production volume and workflow requirements.
 online service
Scan to wechat :